In Mailchimp, create your own customized newsletter template eco-designed, accessible, respectful of your HTML and CSS email system design and make it modifiable?
You've come to the right place! It's all possible with "Model Language" from Mailchimp. And yes, good ideas can't be found under a haystack. And I'm going to tell you how. Please note that the final file for this tutorial can be downloaded at the end of the article, so... don't panic. First, there are several steps to follow:
- Coding your newsletter template
- Set up the template using the Mailchimp naming convention
- Mailchimp merge fields
- Import your newsletter template into Mailchimp
Coding your newsletter template
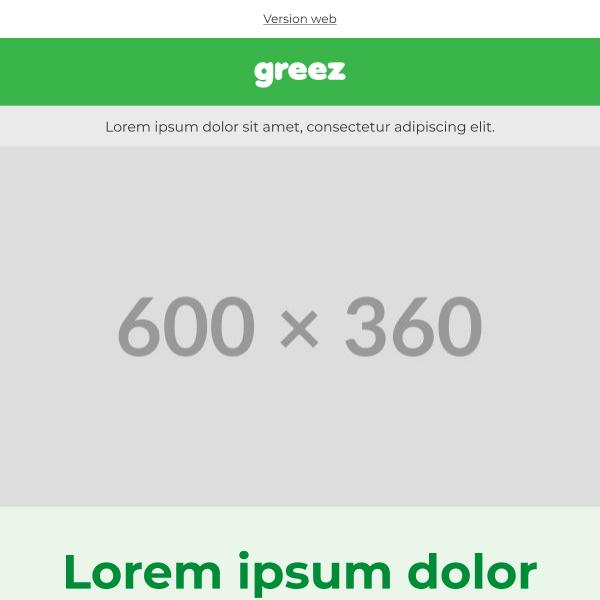
The first thing to do is to design your newsletter template and then code it. No surprises here. For this occasion, I suggest you borrow a newsletter template which I created myself on Figma (this is a canvas I painted for you!).

First, I'm going to develop this model in HTML and CSS, respecting the principles of best practices in email accessibility and eco-design email. If I'm not back in five minutes... Wait longer!
And if you're having trouble coding your email template, you'll be happy to know that there's a guide on how to coding an email in HTML and CSS is at your disposal.
Is it done? Very well... Now that the email template has been developed, we can move on to the next step.
Set up the template using the Mailchimp naming convention
Setting up the newsletter template in Mailchimp involves both :
Each of these sections deals with specific naming conventions, but let me reassure you right away: there are very few of them, and they're pretty straightforward. Are you reassured? That's good. Then, go ahead. "But you said you'd help us, for better or for worse!" Don't worry, I'll explain everything. Let's get started.
Changing the content
mc:edit
This is an attribute that can be added to a <div>, <table>, <td>, <p>, <span>... In short, any element that can be considered a container. With this attribute on an element, you can edit its content. It can be used to modify text, a title or... an image.
You can write this attribute in two ways:
- By specifing a value for the :
<p mc:edit="MainParagraph">Mon paragraphe</p> - By not entering a value for the attribute :
<p mc:edit>Mon paragraphe</p>
Good to know:
- If you wish to inform a value to the attribute
mc:editplease note it has to be unique! But setting a value is completely optional. So, for the purposes of this tutorial, I've decided not to set any values for my attributesmc:edit. - Modifiable elements cannot be nested in other modifiable elements. The following code is therefore incorrect:
<p mc:edit="TextOne"><a mc:edit="LinkOne">Mon paragraphe</a></p>.
I can make the banner text between the header and cover image editable, for example, so that I can change the content. My original code :
<p style="[...]">Lorem ipsum dolor [...]</p>will be changed to:
<p style="[...]" mc:edit>Lorem ipsum dolor [...]</p>
Note that in this exercise I'm trying to respect the established system email design as much as possible. I therefore only apply the mc:edit to "small" elements. Because the attribute mc:editpositioned on a <td> for example, would allow you to change the entire content of this cell, and therefore, potentially, its appearance... And that's not what I want.
If you set the mc:edit on a tag <img>You can then replace, resize or modify the image using Mailchimp's campaign editor. For my cover image, the code will be as follows:
<img src="ImagePath" mc:edit>Good to know:
- You cannot place an editable image inside an editable container. The following code is therefore incorrect:
<td mc:edit><img mc:edit></td> - The
widthandheightattributes entered on an editable image are deleted so that the size of the visual can be managed directly in the "Settings. Theclassattribute, so I can't change the width of my visual for the mobile version unsingclass. On the other hand, I can set an identifier on my image container, and include the mobile version of the image in my media queries. This way:
<style>
@media screen and (max-width:599px) {
   #Cover img {
      width:100% !important; height:auto !important;
   }
}
</style>
<td id="Cover"><img src="ImagePath" mc:edit></td>
Therefore, I add as many mc:edit attributes as there are elements I want to be able to modify later when creating my campaigns using this Mailchimp newsletter template.
mc:repeatable
Allows you to make an element "repeatable", so that you can duplicate it in your campaign as many times as you like. It's written in a simple, basic way:
Good to know:
- An element with the
mc:repeatableattribute is editable, but will not be repeatable if it is contained within another element with themc:edit. - Do not use the
idon a repeatable element, as it may no longer be unique by definition. Give preference toclass!
I can't get into the mc:repeatable not to mention the mc:variant…
mc:variant
The latter allows you to switch between the different "variants" of an element with the mc:repeatable.
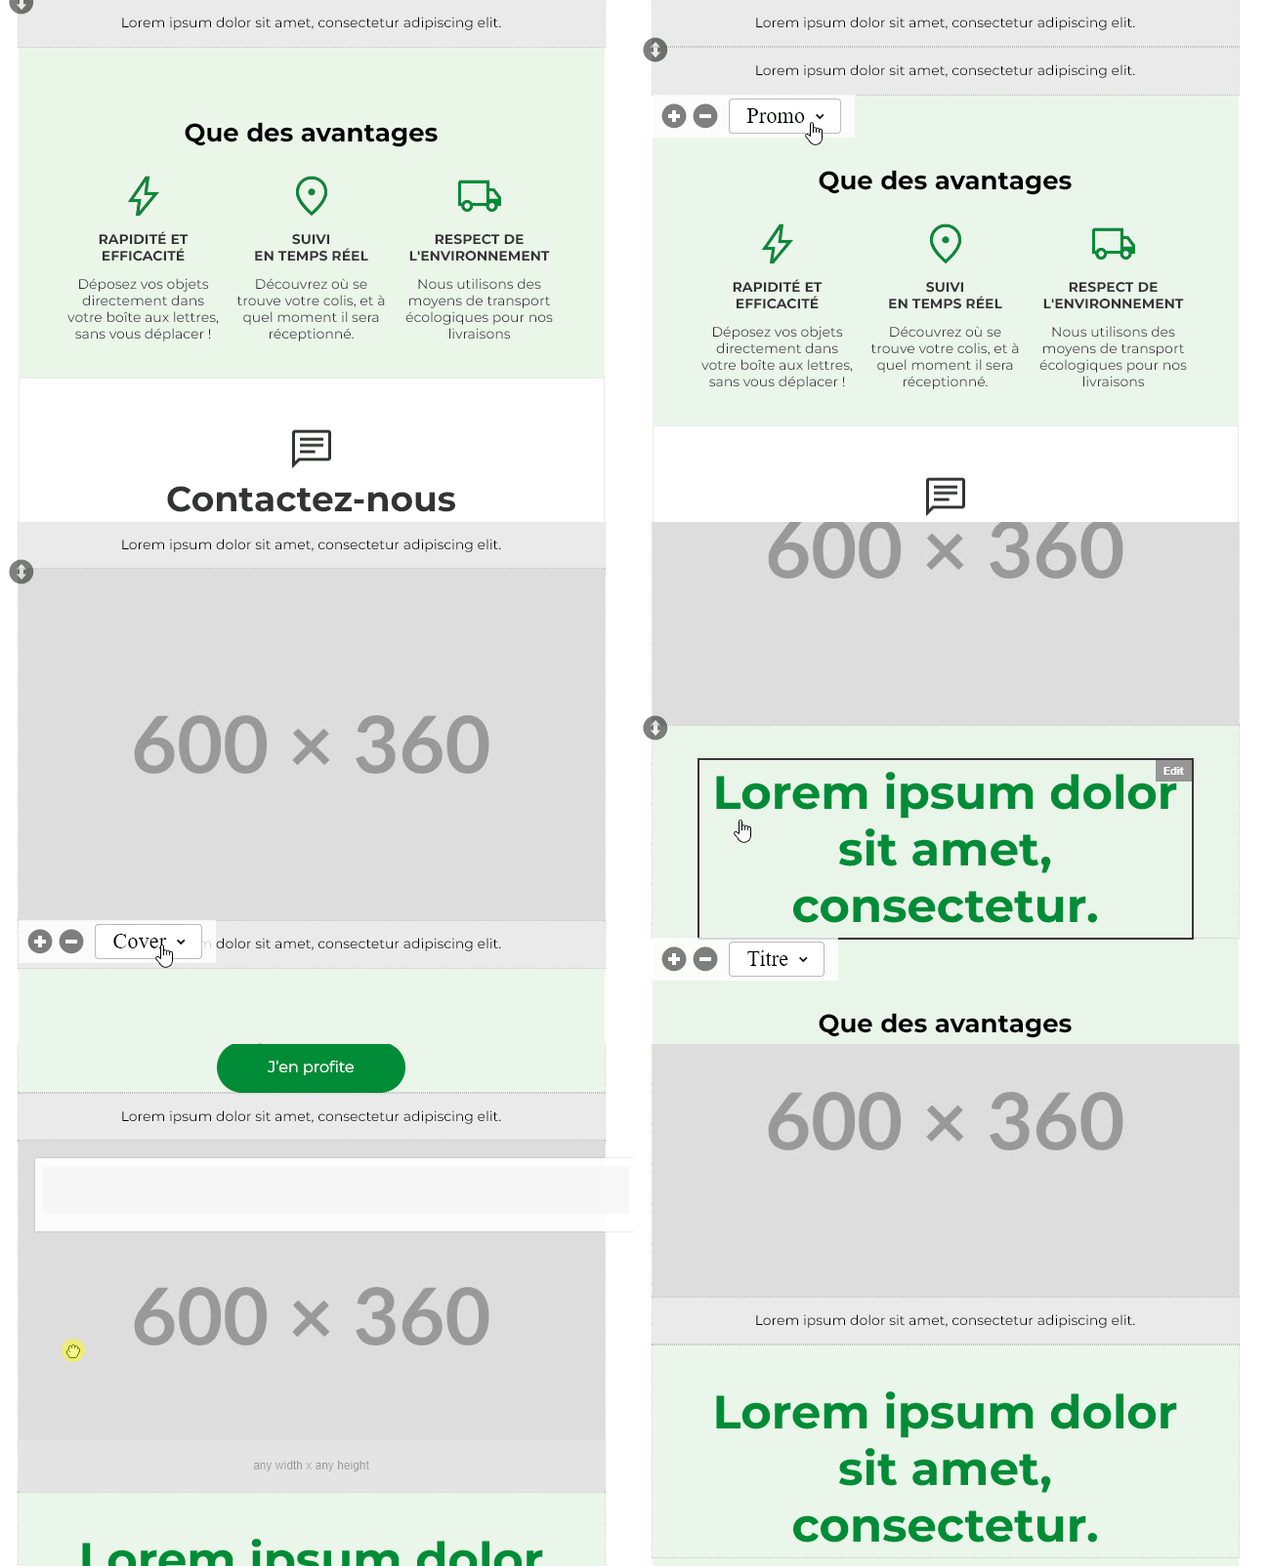
Ok, this is not clear. Let's consider, according to our model, that the "preheader", "header" and "footer" blocks are immutable elements that never change their location. The other blocks (the banner under the header, the cover, the title, the text, the button) are on the other hand elements that I want to change in their arrangement, order, and number.
I can then design a <table> with several lines of <tr>each with an attribute mc:repeatable but also with an attribute mc:variant unique. I'll then be able to simulate the behavior of an email builder, and choose to display, duplicate, swap or change the order of all the blocks.
It's great! Is it not !? Anyway, geniuses are never understood. When Pasteur invented rabies four years ago, nobody believed him... And now rabies works! Anyway... In my newsletter template HTML code, this translates to:
 [...]
 [...]
 [...]
My three <tr> lines with the mc:repeatable attribute with the same value (TemplateBlocks) but an mc:variant unique allow me, when using my email template, to choose which block I want to use, change its position, or even duplicate it!
Need help?
Reading content isn't everything. The best way is to talk to us.

To remember:
- The
mc:variantmust be unique.
mc:hideable
This attribute allows you to hide the element concerned. You can use it for any element. Note that if an element is hidden, it will not be visible when the email is sent from Mailchimp.
Good to know:
- Do not use this attribute on an element that already has the
mc:repeatable
mc:label
This is an optional attribute for naming an editable section in Mailchimp. It can be applied to any element that includes the mc:editattribute. If no mc:label is specified, Mailchimp will use the value of the mc:edit.
To modify styles
@tab NameOfTheBlock
This declaration specifies the title of the module that will be affected by the style changes in the Mailchimp control panel. It is written as follows:
/* @tab NameOfTheBlock@section NameOfTheElement
Allows you to specify the element in the module targeted by the previous /@tab declaration. It is written as follows:
/* @tab NameOfTheElementGood to know:
- The previous two declarations must be declared in CSS comments to ensure their correct interpretation.
/**
* @tab NameOfTheBlock
* @section NameOfTheElement
*/
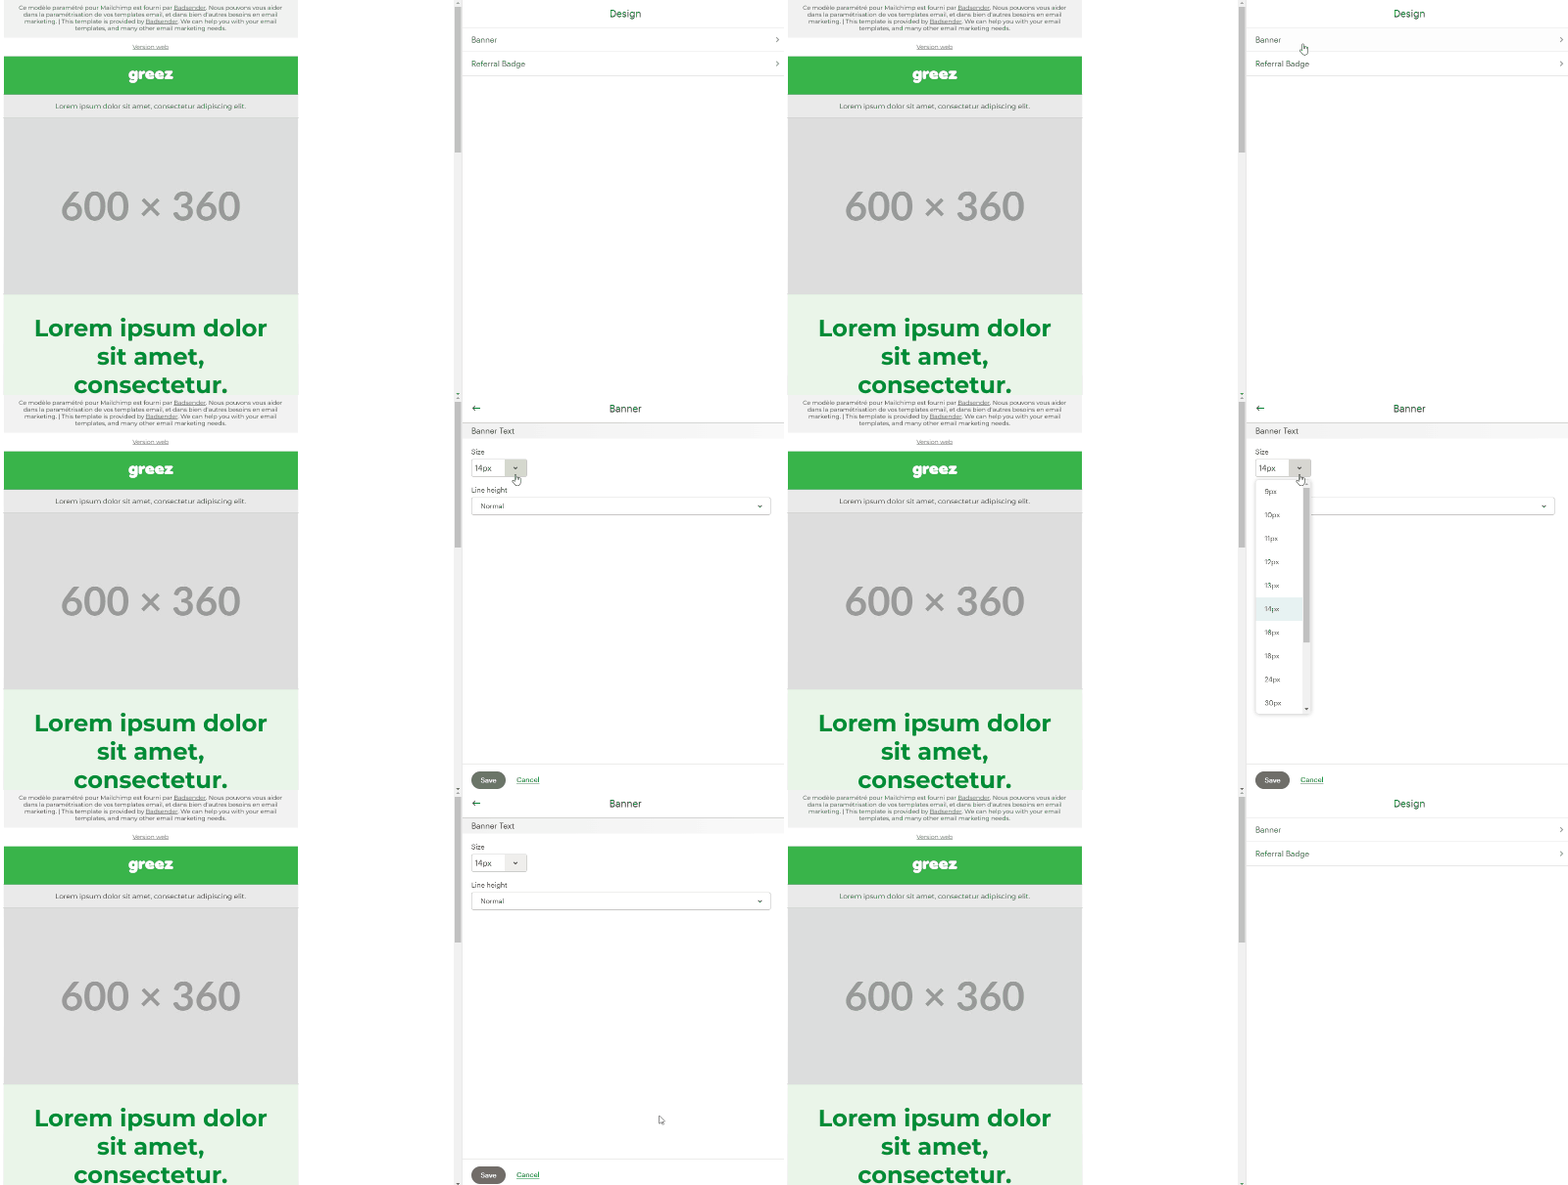
@editable
Allows you to make a CSS property defined in the <style> editable from the Mailchimp control panel. It is written as follows:
/*@editable*/font-size:14px !important;
Good to know:
- This declaration must always precede the CSS property in question.
Mailchimp merge fields
Now that you have the Mailchimp declarations you need to modify the content and style of your newsletter template are in place, all you need to do is insert Mailchimp-specific variables, or merge fields, to save time when using your template.
*|MC:SUBJECT|*This variable allows you to enter the title of your email. Very useful in the<title>of our template.*|ARCHIVE|*this variable allows you to set the url to the mirror page of your email.*|UNSUB|*to set the unsubscribe url.*|UPDATE_PROFILE|*to allow the recipient to update their preferences from a communication preferences center.
Once all these variables are implemented in your newsletter template, you're done, right? No my Lord! Have you thought about importing the template into Mailchimp? Well, you can take the next step NOW !
Import your newsletter template into Mailchimp
Great, but now how do you import your custom newsletter template into Mailchimp? It's easy!
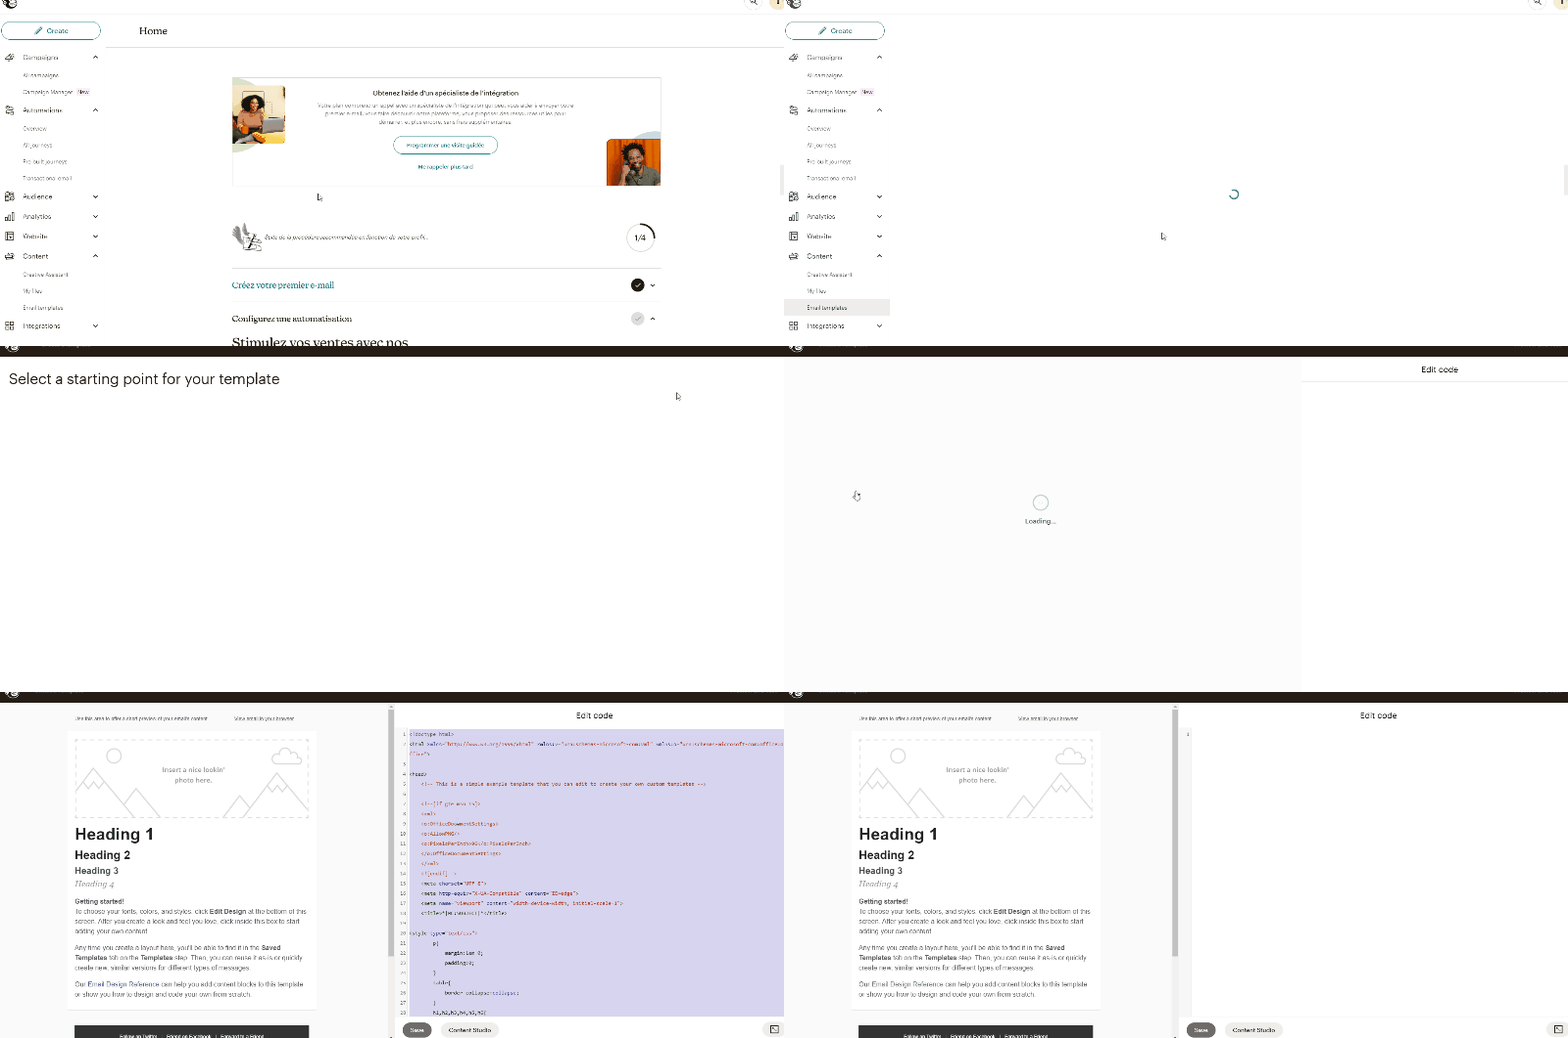
From your Mailchimp dashboard, you can create a new email template under "Campaigns" > "Email templates". Then click on the "Create template" in the upper right corner and select "Paste in code" in the "code your own" section.
Mailchimp will then generate a basic email made up of several modules and elements, along with the corresponding HTML code. This code can be used as a base to learn how to code your own email templates in Mailchimp.

Well, it was nice... Surreal, but nice...
PS: Please note that Mailchimp's "Free" and "Essentials" plans do not currently offer the ability to create your own email template, but only the "Standard" plan. See the details for each formula. Please also note that we offer a HTML and CSS email development service , and that we can very well take care of configuring your newsletter template to use it from Mailchimp. That's a lot of notes...
Download the HTML file for the newsletter template in this tutorial:
Sources :
- https://mailchimp.com/help/all-the-merge-tags-cheat-sheet/
- https://mailchimp.com/fr/help/all-the-merge-tags-cheat-sheet/
- https://mailchimp.com/help/create-editable-content-areas-with-mailchimps-template-language/
- https://mailchimp.com/fr/help/create-editable-content-areas-with-mailchimps-template-language/
- https://mailchimp.com/help/getting-started-with-mailchimps-template-language/
- https://mailchimp.com/fr/help/getting-started-with-mailchimps-template-language/
- https://templates.mailchimp.com/getting-started/template-language/
- https://mailbakery.com/mailchimp-tags/
- https://emailsoldiers.com/blog/mailchimp-template-language
- https://www.emailonacid.com/blog/article/email-development/mailchimp-templates/
- https://www.liquidlight.co.uk/blog/creating-a-custom-mailchimp-template-with-layout-variations/
- https://codepen.io/g13nn/pen/gLNrLe
- https://www.litmus.com/blog/how-to-mailchimp-email-templates/
- https://liramail.com/help/mailchimp-guide/
- https://docs.thememountain.com/email/kant/mailchimp/
Leave a Reply